
![]()
Aerial Amplifier
Retrofitting a Ford radio aerial amplifier to the Honda CRX.
Introduction
Many Fords are not fitted with telescopic radio aerials, and use the rear window demister instead with a special amplifier unit.
For a while now many CRX owners have been fitting them to improve the radio reception. Here's how I decided to implement it.
This unit was removed from a Sierra hatchback - the unit was hidden behind the trim in the lower half of the hatch. There are a number of variations on this unit, but they all work in the same basic way.
You wire the unit in series with your heated rear window, tapping into both the feed and return sides. There is a small "enable" terminal that you should connect to your head unit's accessory output. This turns on the amplifier unit when connected to +12v. So when your head unit turns on, so does the amplifier. It uses very little current so feeding it from the accessory terminal is sufficient.
The Amplifier Unit
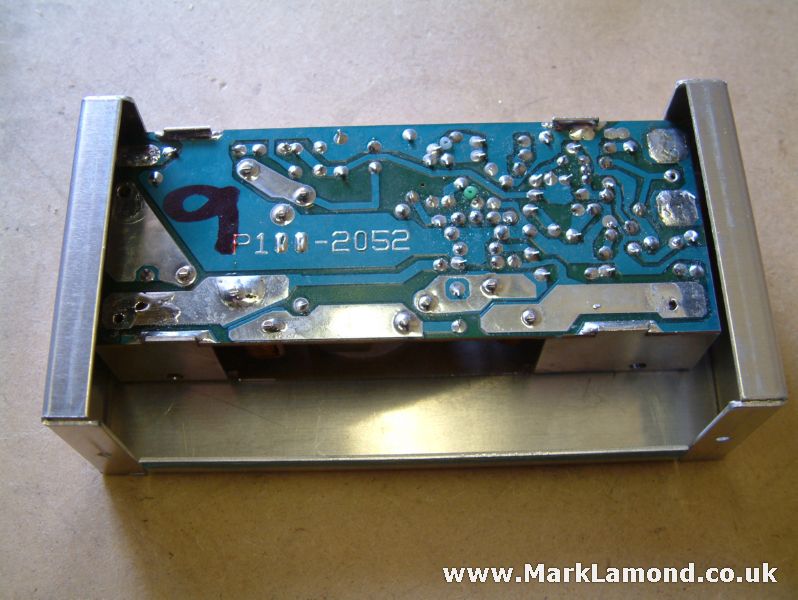
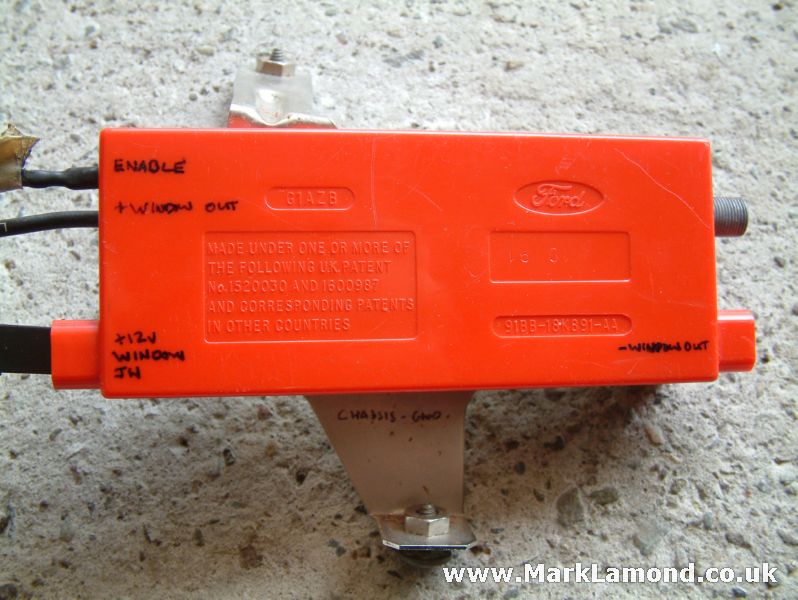 |
Unit as removed from the car, for a neater
install I'm going to install the board inside a
new case. Take note of what each terminal connects to. |
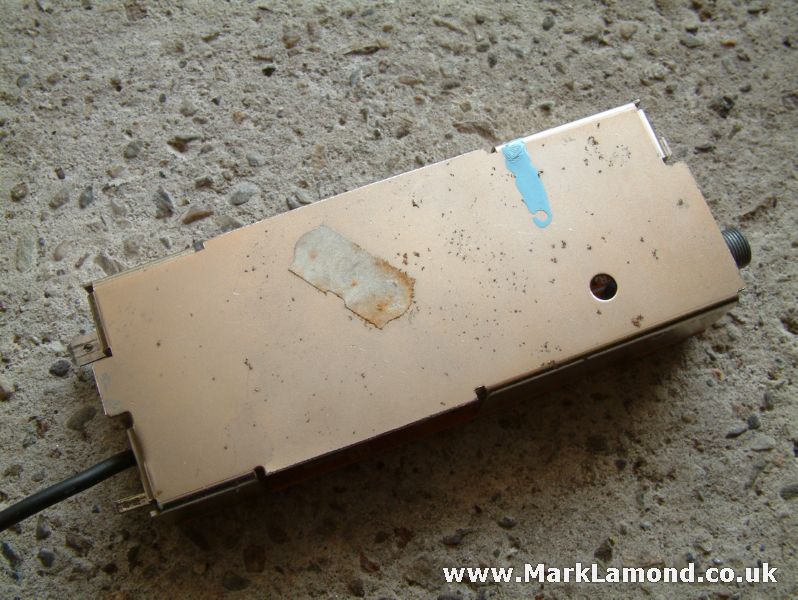 |
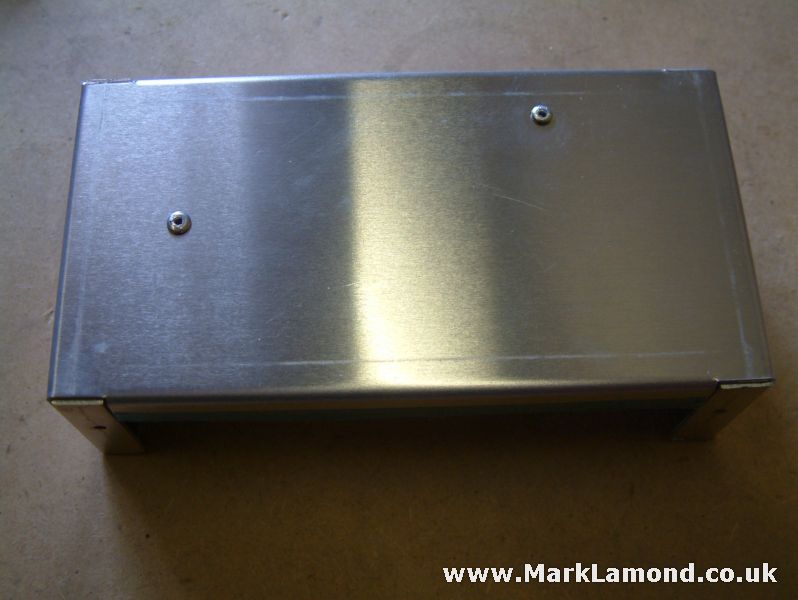
The two mounting flanges were cut off the unit and neatly filed flush. |
 |
Top view of the unit, now ready to install in the new enclosure. |
Re-housing the Amplifier
This isn't strictly necessary, but makes for a neater install.
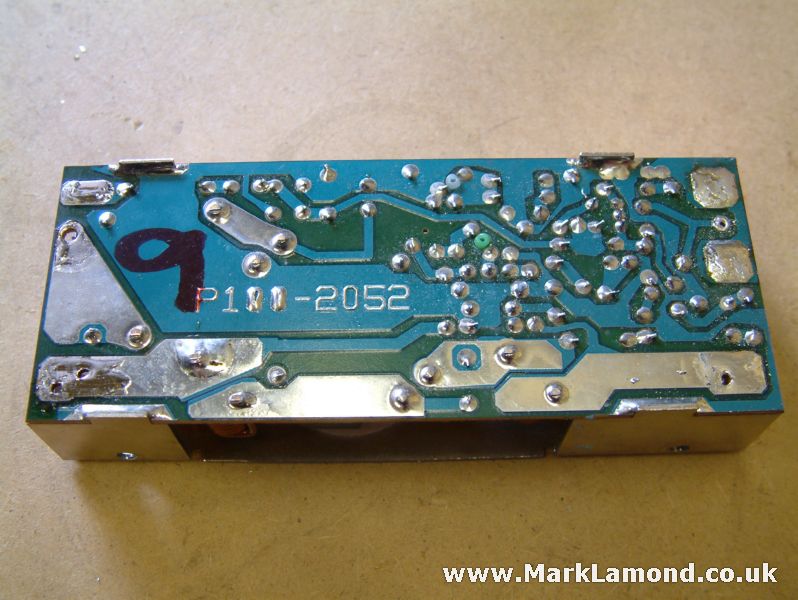 |
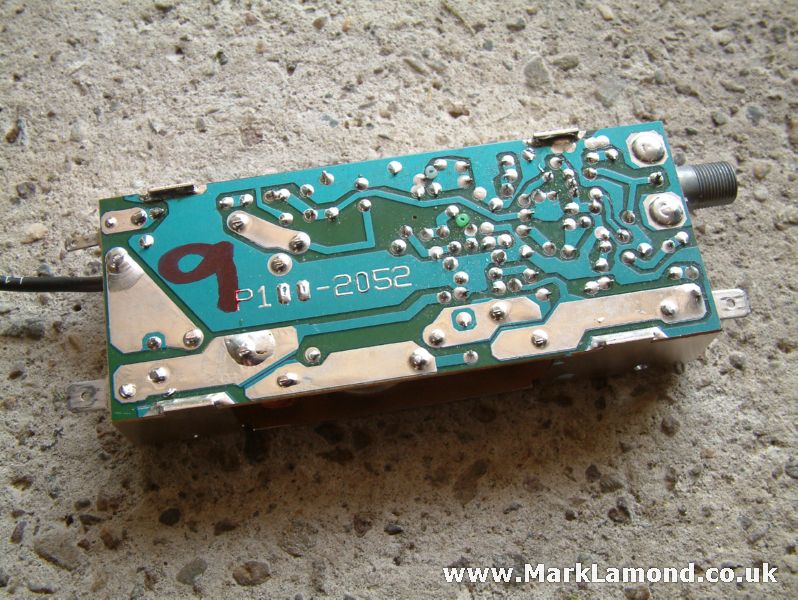
All the original spade terminals, and coax connector have been removed from the unit. |
 |
The unit was then mounted inside a simple aluminium enclosure from an electronic component supplier. |
 |
The unit was fixed to the enclosure with a couple of pop rivets, through the back of the original mounting bracket. |
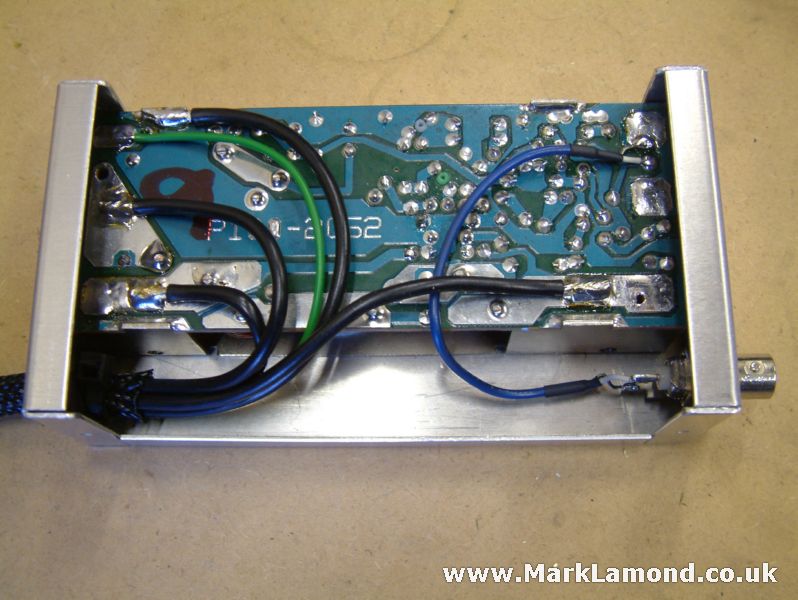 |
Now it can be wired up, a BNC connector was
fitted for the antenna output. The wires for the heated screen were neatly soldered to the board and sleeved in expandable braid. A grommet was fitted to the case and cables secured with a tyrap and hot melt glue. |
Fitting to the Vehicle
The connector for the heated rear window can be accessed by removing the driver's side rear trim panel. There is plenty of room behind to mount the unit.
 |
A couple of cable tie mounts were pop
riveted to the inner rear wheel arch. After riveting the rear of the holes were covered with seam sealer to prevent water ingress. |
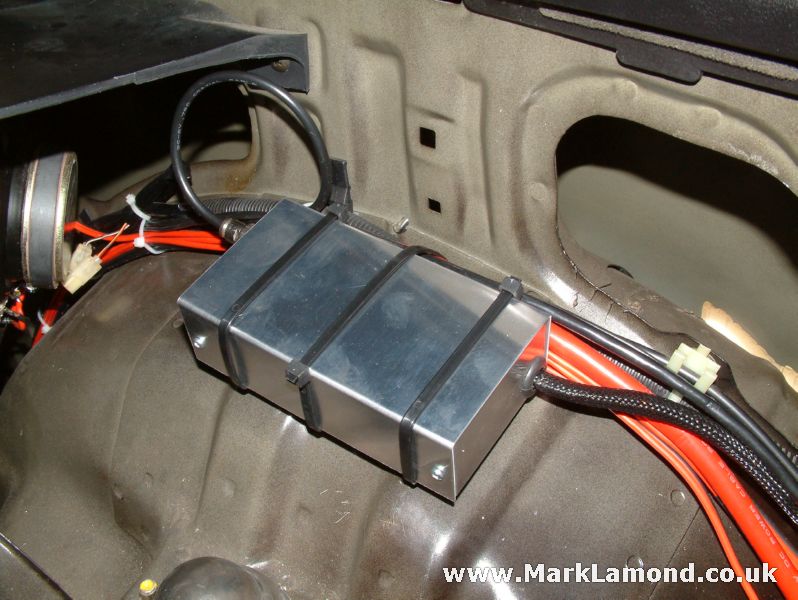 |
The unit was then cable tied securely to the mounts. |
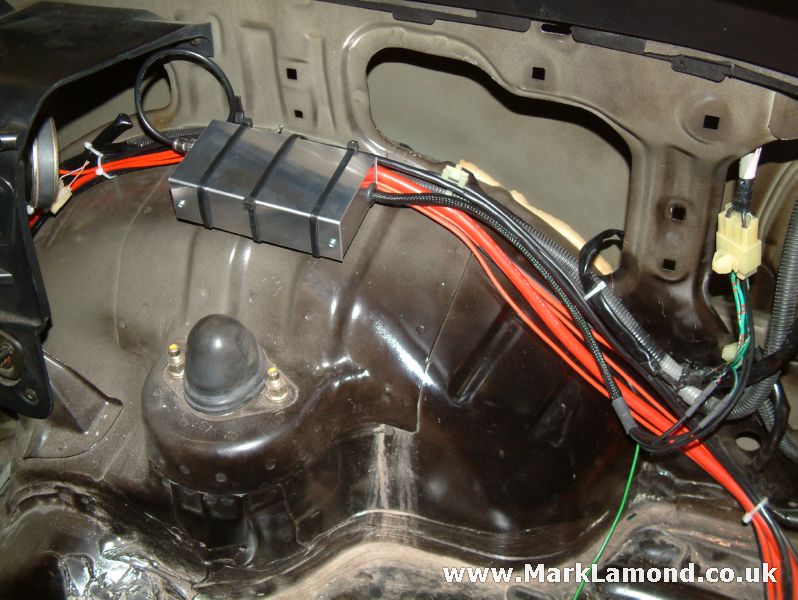 |
The unit mounted and connected up to the
heated rear window wiring (cream coloured
connector, top right). To hook the unit up to my head unit I used a 3m car radio extension cable and cut the male end off the plug, and crimped on a connector to plug into my unit. |