
![]()
DC Sports 4-1 Header
Fitting a DC Sports header to the 1991 B16 CRX SiR.
Introduction
Important - read before you consider buying this manifold and have a B16A1 engine!
The B16A1 engine as standard in the CRX/Civic VT/SiR running on a PW0/PR3 ECU uses two primary oxygen sensors, one for each cylinder pair mounted in the manifold. This system is commonly referred to "OBD-0 VTEC" in Honda terminology.
The DC sports header is designed to fit the B16A2 engined cars, such as the 92-95 Civic - these cars use the later P30 ECU as part of the "OBD-1" system and it uses one oxygen sensor which is mounted just before the outlet flange of the manifold (in other words it sniffs all 4 cylinders).
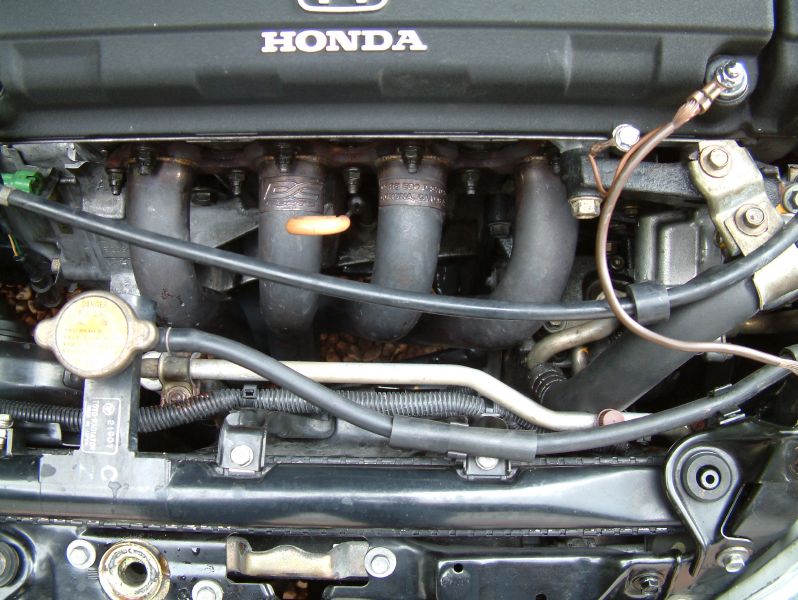
The vehicle shown here has been converted to the later OBD-1 system so we do not have any problems with oxygen sensors, and from that point of view the installation is the same as the the B16A2 engined cars.
If you have the stock OBD-0 VTEC system on your car and want to fit the DC manifold, you have nowhere to install your oxygen sensors. The only realistic option is to have extra bosses welded into the manifold to mount the sensors in the respective runners, or convert the car to the later OBD-1 managment system, the pros and cons of which are detailed here.
You must NEVER connect both sensors inputs together or install both sensors in the collector. Each sensor must sniff at least one of the cylinder pair to which it is assigned. If you fail to do this the engine will do one or all of the following depending on the mistake you have made and your own setup:
- Show an ECU fault code - check engine light illuminates.
- Suffer from random misfires under light acceleration.
- Hesitation when transitioning from open to closed loop.
- One cylinder pair will run lean, and the other rich which obviously has major issues.
Even if you install the bosses in the manifold to run your OBD-0 VTEC system you MUST have the correct sensor installed in the correct location.
Of course, you can always have the ECU reprogrammed to have the oxygen sensors disabled and run without them, however this is only really an option for a race vehicle where fuel economy is not an issue and where a close watch is kept on the engine's state of tune.
Manifold Installation
![]()
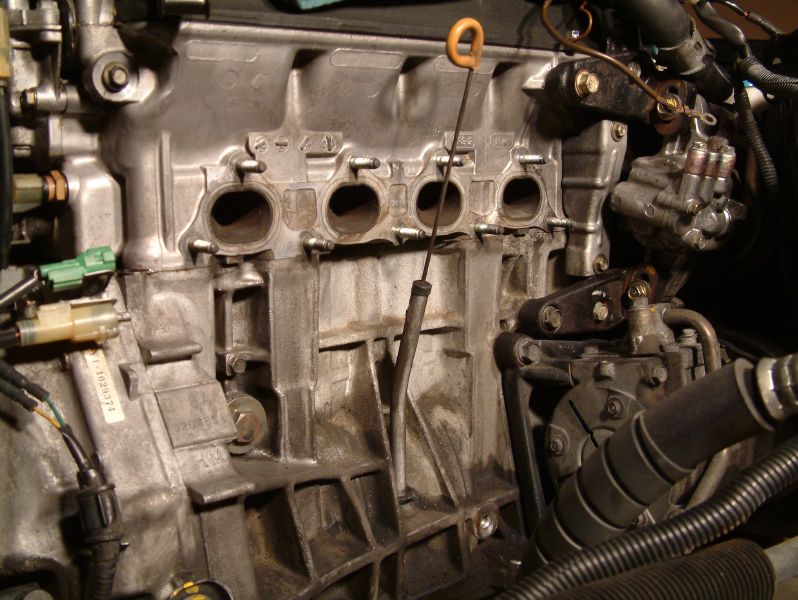
The stock manifold with the heat shield removed.
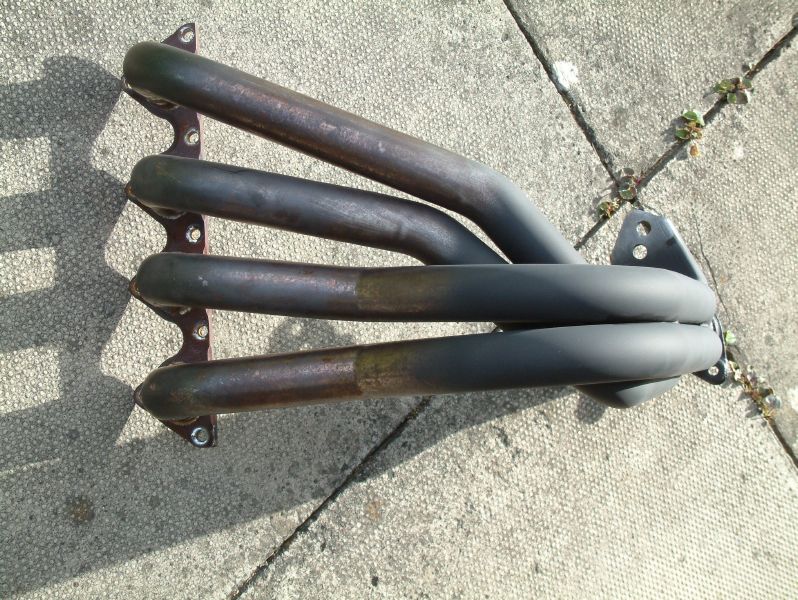
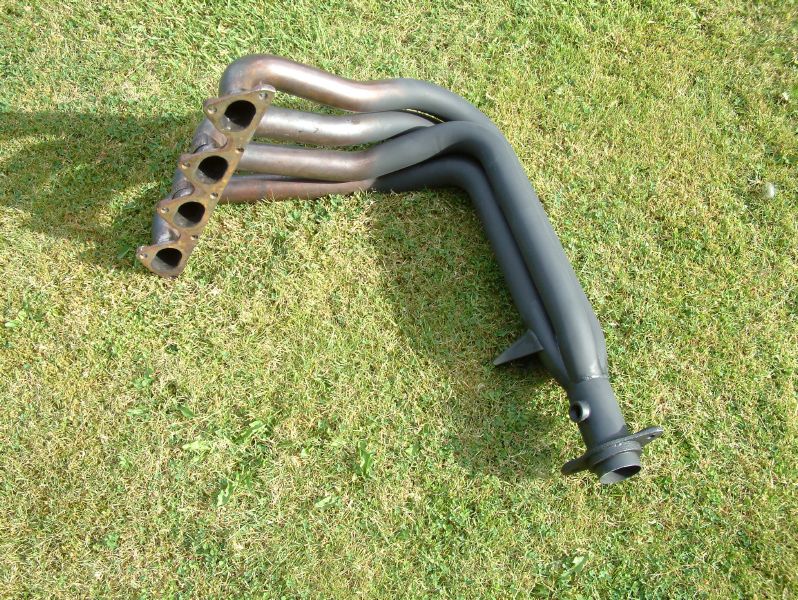
Here's the manifold painted up and ready to go on the
car - as the tubing is not made from a very high grade
(and expensive) stainless steel it still suffers from
some light surface oxidisation, so I gave it a good
clean up and then used 5 coats of high temperature paint
on the lower half which will take the worst of the punishment
from the weather.
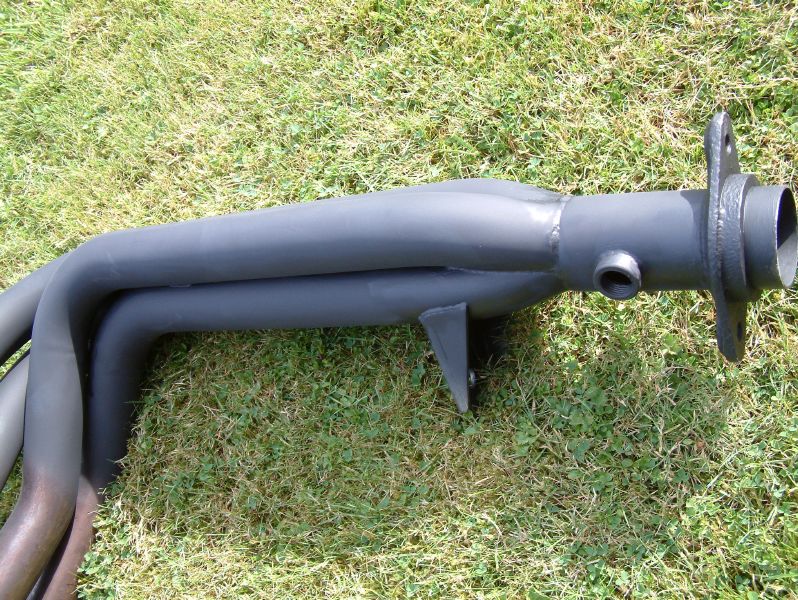
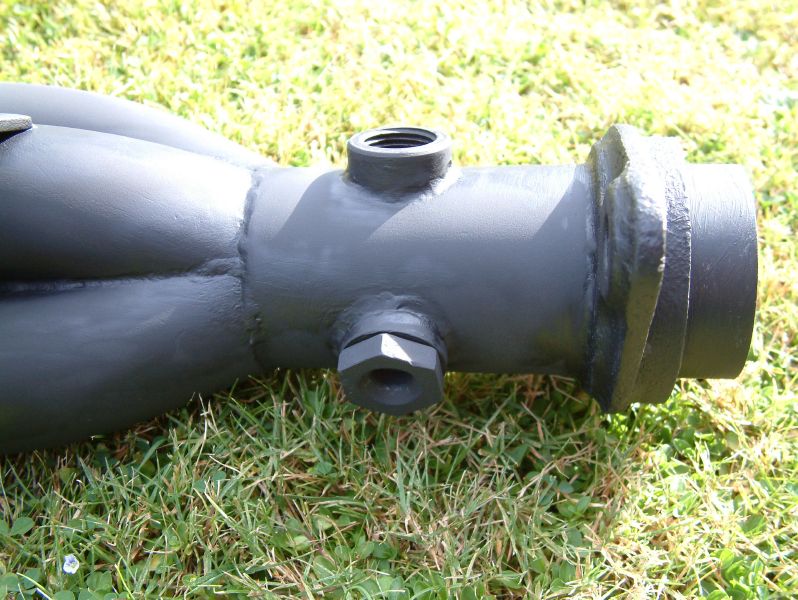
Here are close-ups of the mounting brackets and O2
sensor bosses. This manifold normally has only one boss
but another was added by the previous owner. However the
thread on this boss was badly damaged as it was
collecting water and required to be cut down and re
threaded. The top boss will be used for the heated O2
sensor - the bottom one shouldn't be used for an O2
sensor as it would allow water to pool in the sensor and
damage it over time. The lower boss will be fitted with
a removable plug.
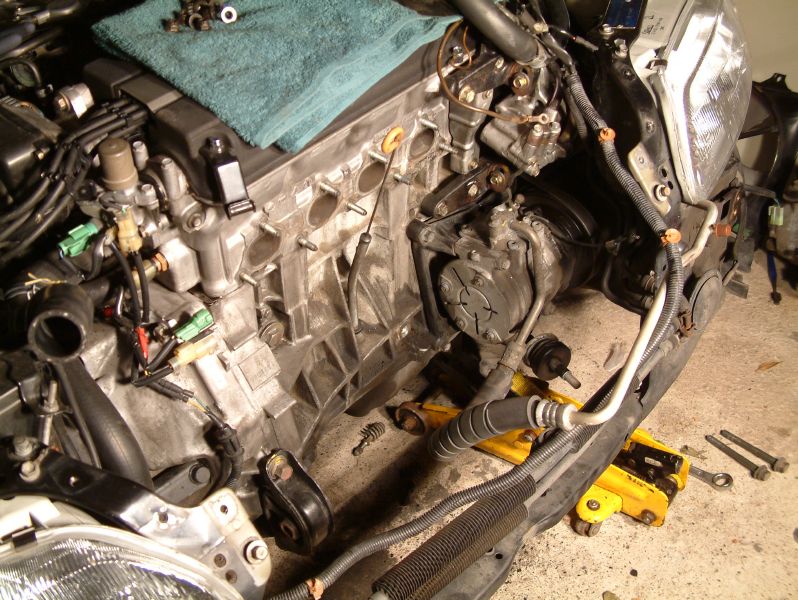
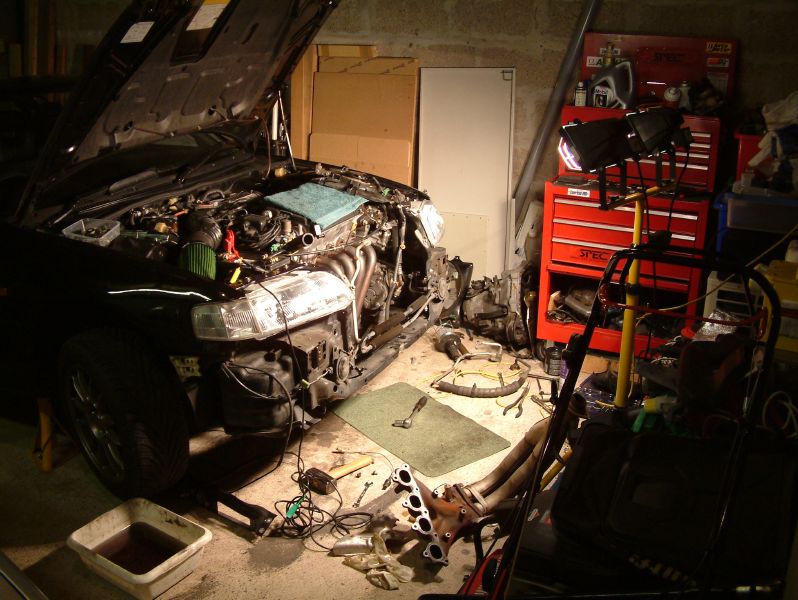
You don't need to remove the radiator as shown in the
pictures, only the additional fan if your car if fitted with
A/C. You must remove the front cross member to be modified
for clearance (below), and to actually get the manifold on
the engine.

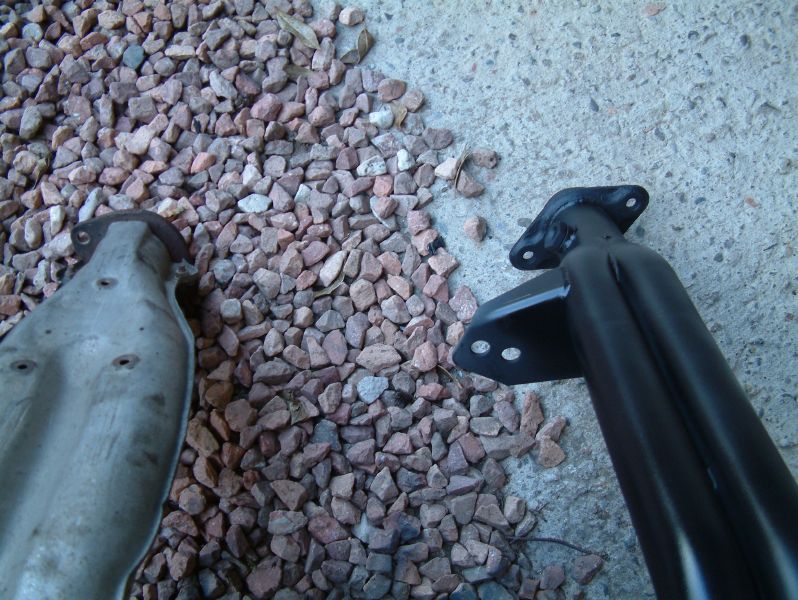
Important! Note in the right hand picture the flange
on the DC manifold is a mirror image of the original
one! The outlet flange is also some 2" longer than
the original! Luckily my Mongoose exhaust's front section can be twisted
round and pushed back by the required amount as it uses
simple swages to join pipes - extremely lucky! If you
don't have an exhaust that allows you to do this then you
will have to make changes to the system, so plan
accordingly.
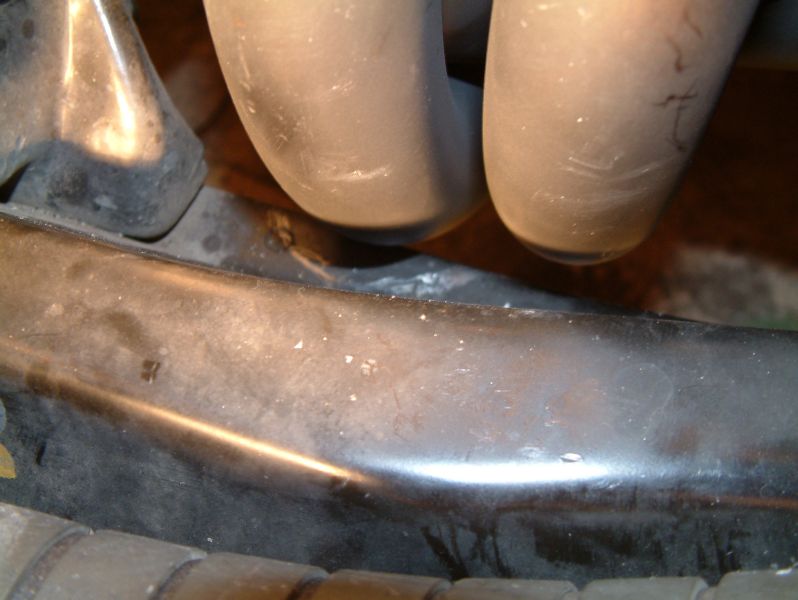
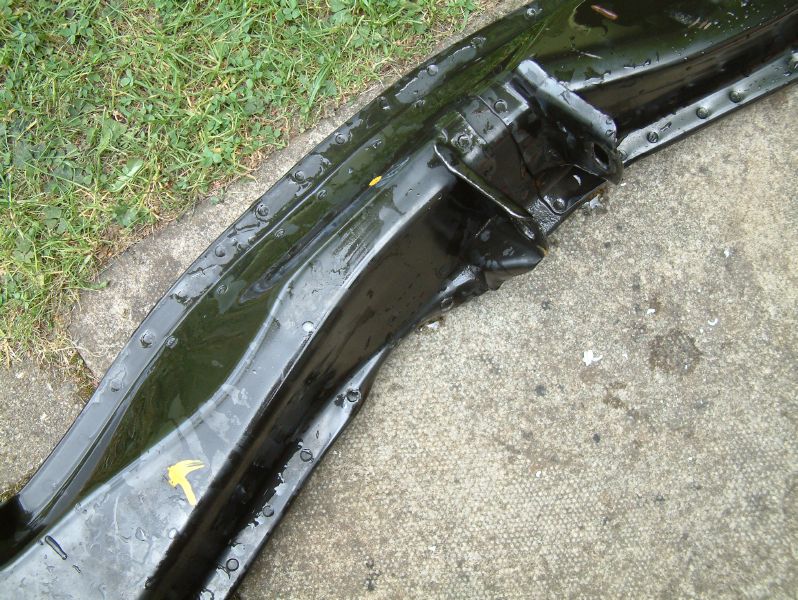
Because of the design of the header, it will clash
with the front cross member - and it has to be modified
to clear. You can see the pencil line I have drawn in
the left hand picture to show where collision will occur
however it is best to err on the safe side and give
yourself plenty of room to cope with the engine shifting
on it's mounts under load, and on overrun. You don't
really want to use a grinder etc on the cross member as
the ridge on the side is what gives it most of it's
strength, so the easiest thing to do is bend it. Simply
stand on top of the cross member and use a 4lb club
hammer to achieve a suitable, gentle bend in the lip.
Very easy to do though don't go over the top.
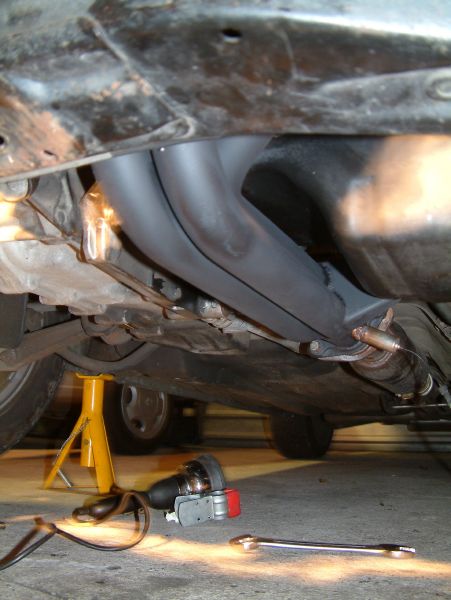
The finished article! Naturally as with any (especially major) engine modification you should have the car remapped (tuned) to check the engine is operating safely, and of course maximise any power gain!
After fitting this manifold before remapping the ECU using an accurate wideband AFR meter I found that some tweaking was required but the engine certainly wasn't in any danger. In other words the car was still perfectly safe to drive, however this depends greatly on your own setup.