
![]()
Rear Upper
Fitting a Rear Upper Brace to the 1991 Honda CRX
This guide assumes you are fitting a brace of the same design as mine - although is still useful for other makes of brace. You can't get around cutting the trim on most braces, so naturally I wanted to do it as neatly as possible - It makes all the difference.
This should take you about 45mins to 1 hour.
Fitting procedure is the same for all models of CRX.
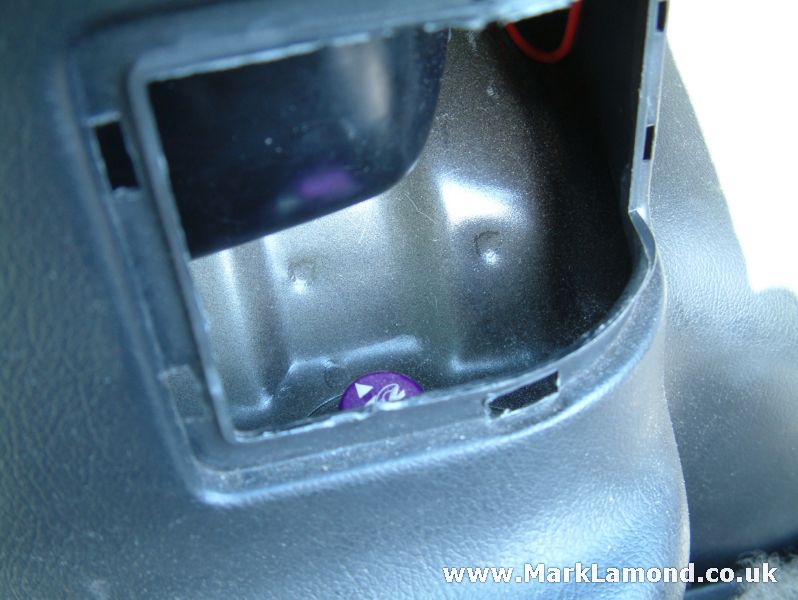 |
Fold down the rear seat to give yourself working room, climb in the boot and remove the rear shock access cover at each side. |
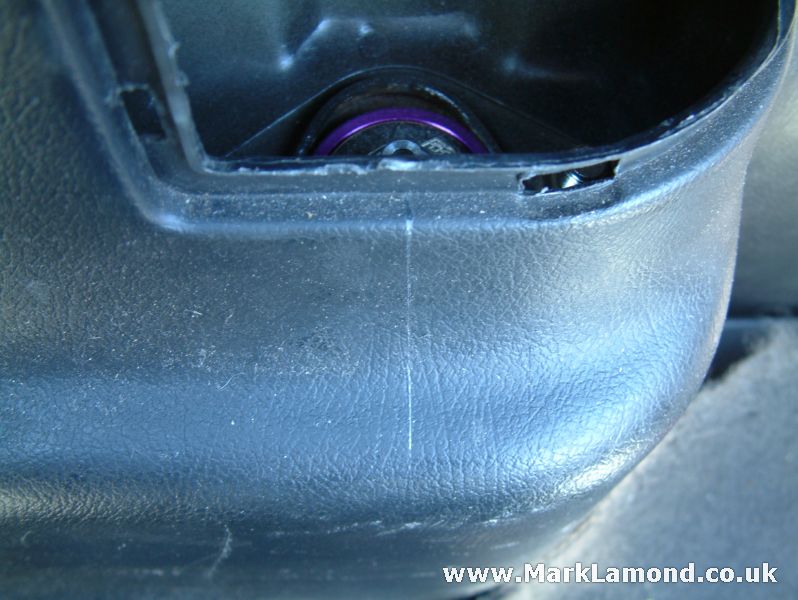 |
Project a centre line from the top of your shock onto the rear trim. Notice the centre of shock in the darkness, to the top. Use a tape measure to form a straight edge with the contours of the trim. |
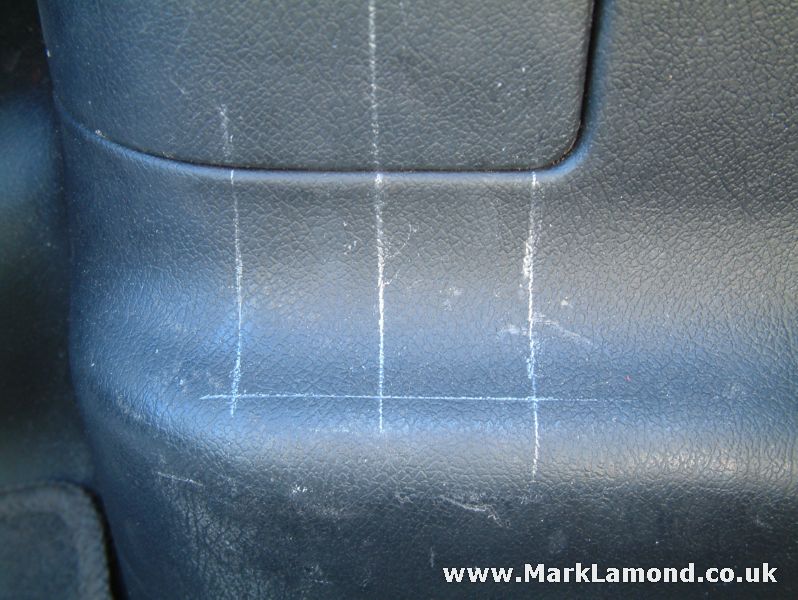 |
Fit the cover back on and then extend the centre line. Measure 30mm from each side of the centre line and mark lines as shown. The distance from left to right is then 60mm in total, with 30mm at the centre. Also mark a horizontal base line just where the shoulder on the trim starts to roll off. This is approx 50mm from the bottom of the access cover. |
 |
Cut out the hole - use a junior hacksaw blade that has been
removed from it's frame to roughly shape the hole, to within
about 1mm of the marks. Clean up the holes with a file, and
then carefully use a sharp knife to get the edge perfectly
clean. As you can see, the right hand edge of the slot is in line with the existing vertical edge where the access cover clips in. |
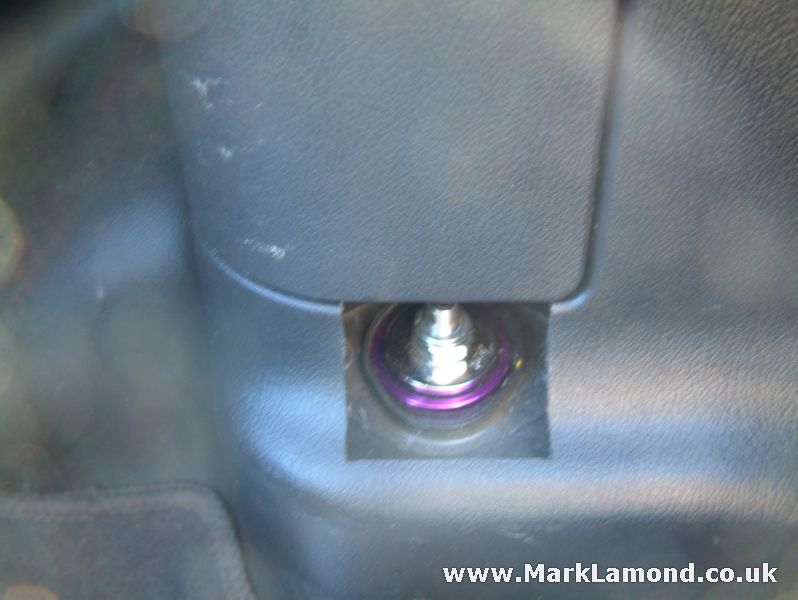 |
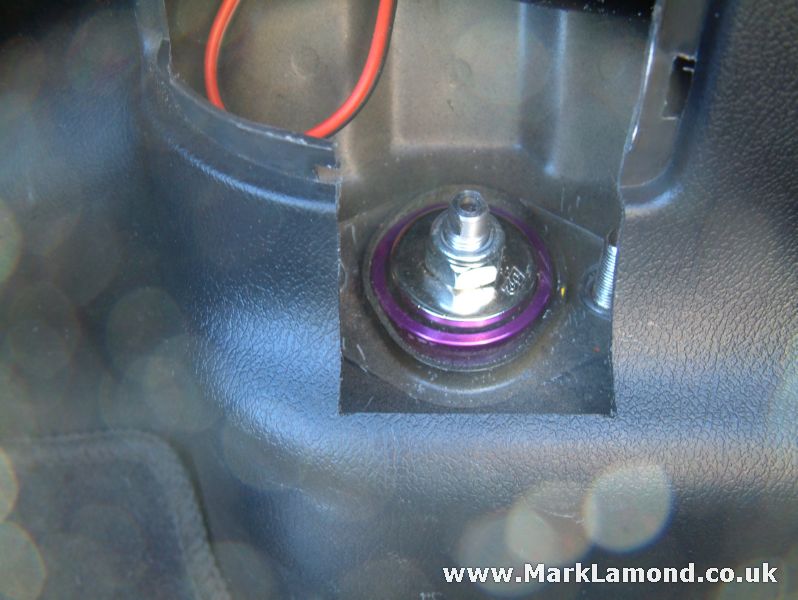
Try the access cover back on to see how things look. It
should still clip in just as secure as before. Now remove the top mounting nuts from the shock - this requires a 14mm socket if you are using the standard Honda nuts with in-built washers. |
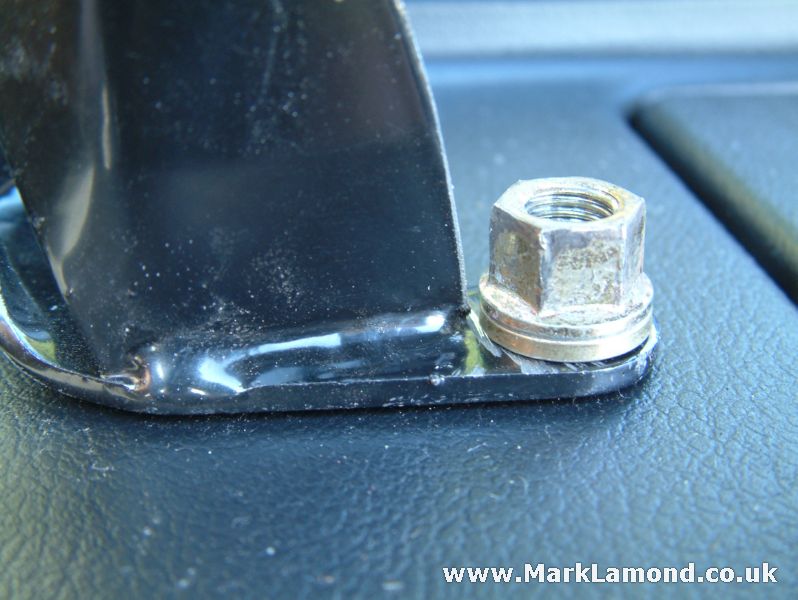 |
With my brackets I had to grind away some of the vertical
part to prevent the nut from binding up, and allow me to get
the socket on. These are cheap braces and quality will vary
- yours may be fine. Now test fit the brackets in position and trim the rear panel further if it is causing it to bend. I had no problems with the measurements I used, however depending how the rear panels are fitted to your car you may need to tweak things a little. If everything looks okay, fit the nuts back on the shock mounts and tighten to the torque in the factory service manual - 30 lbs-ft. |
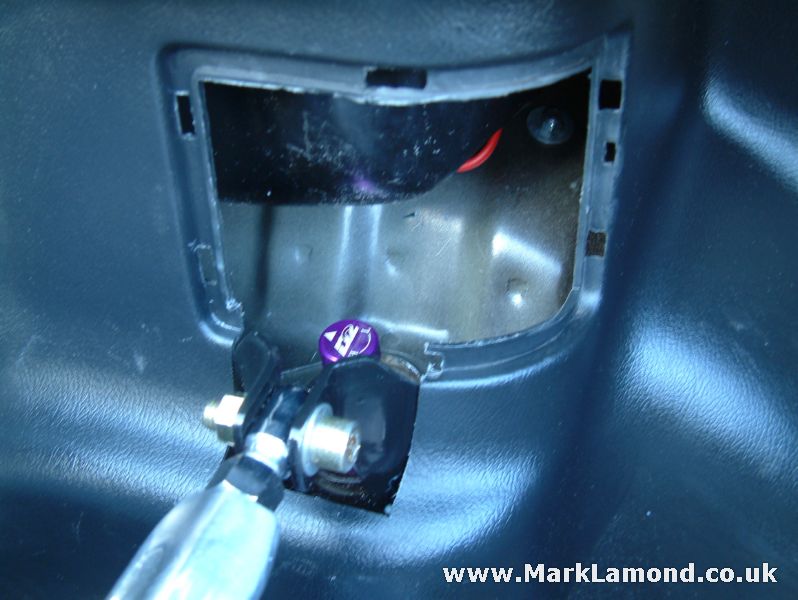 |
Now back the lock nuts on the brace ends off fully, wind the
ends both fully in and offer it up to the brackets. As these
ends are fitted with opposing threads into the bar, just
spin the bar round to lengthen or shorten it's reach. Fit the retaining bolts with a 14mm socket and 8mm hex key and tighten to around 45 lbs-ft. I fitted washers under the bolts, these do not come supplied with the kit. To wind a little tension on the brace, with the lock nuts loose on the ends simply spin the bar round to apply a little tension, then tighten up the lock nuts - these do not have to be immensely tight, a reasonable "nip" is fine. |
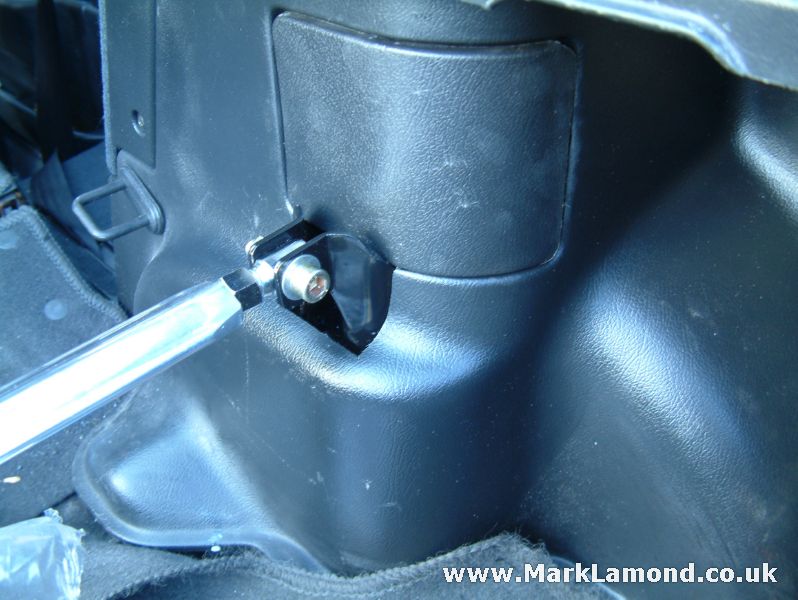 |
Clip the access cover back on, and give everything a clean up. The bottom edge of the cover should just clear the mount without any trimming. |
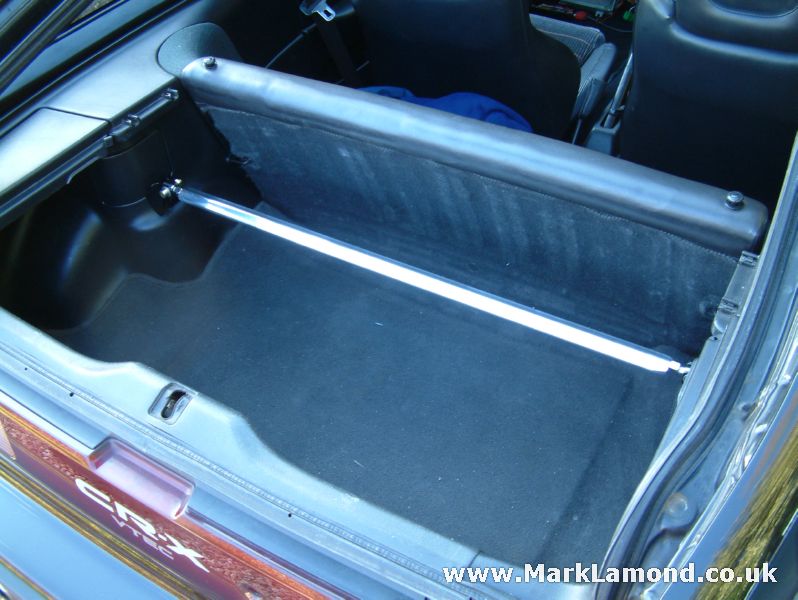 |
The finished article! |