![]()
Instrument Panel
Removal
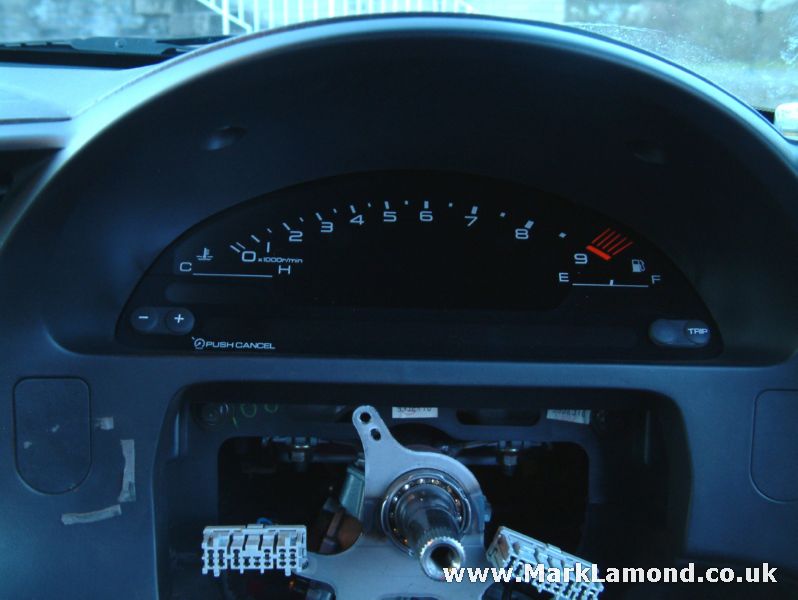
The instrument panel is held in place by two screws, which are hidden under caps above the gauge cluster. The remainder of the trim is secured by spring clips around the edge. These can be released by gently pulling on the trim, or using a thin bladed screwdriver to release them.Please Note:
- When prying with a flat tip screwdriver, wrap it with protective tape, and apply protective tape around the related parts, to prevent damage.
- Take care not to scratch the dashboard and related parts.
- LHD is shown, RHD is identical.
Install in the reverse order of removal, and note these items:
- Replace any damaged clips.
- Make sure the connectors are plugged in properly.
Fastener Locations and Types:
|
A
|
B
|
C
|
D
|
E
|
| Screw, 2 | Clip, 2 | Clip, 4 | Clip, 2 | Clip, 2 |
|
|
|
|
|
|
KEY
1. INSTRUMENT PANEL
2. SCREW CAP
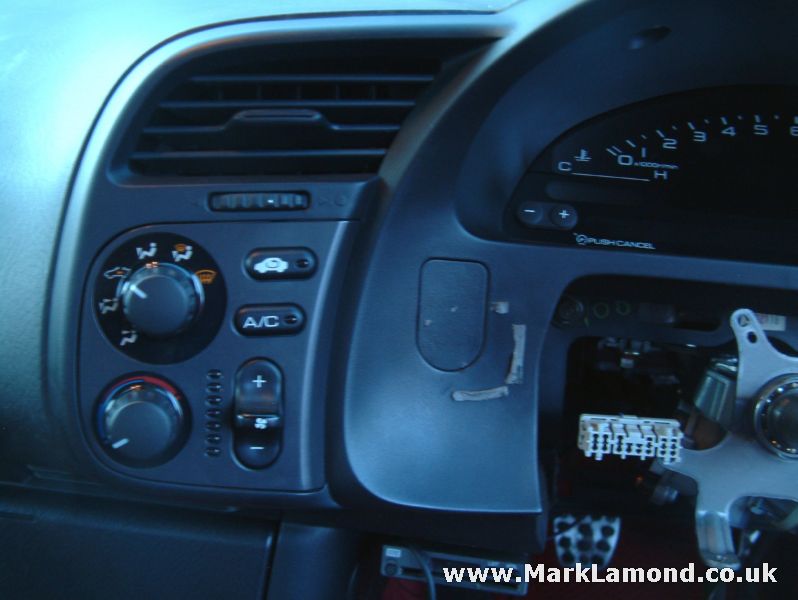
3. REAR FOG SWITCH
4. HEATER CONTROL UNIT CONNECTOR
5. REAR FOG SWITCH/CRUISE CONTROL SWITCH
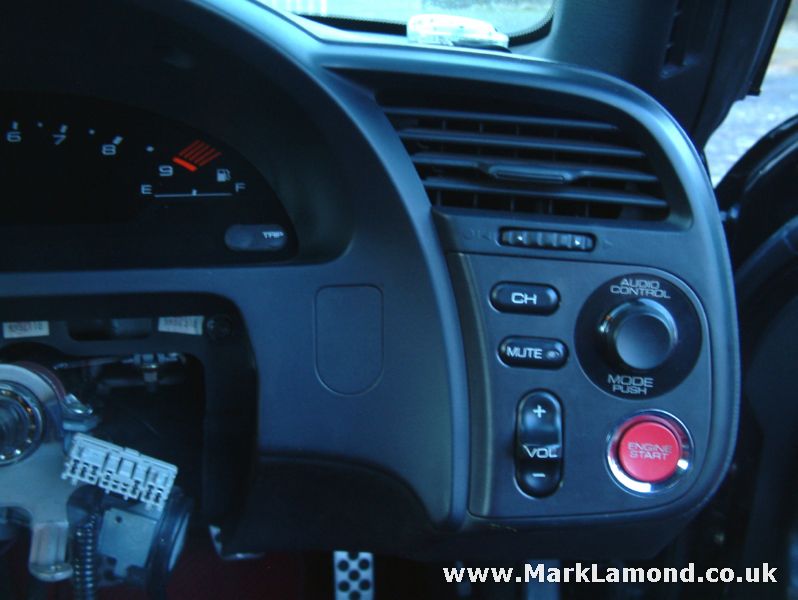
6. ENGINE START SWITCH CONNECTOR
7. AUDIO CONTROL UNIT
Removal
Refitting the panel is the reverse of removal, the panel should clip back into place with gentle pressure.
Pictures