
![]()
Replacing the Ribbon
Replacing the ribbon cable is straight forward as long as you pay attention to how the old one is routed as you remove it.
When removing the old connector be careful not to use too much heat, you must use a variable temperature iron with a needle point to avoid damaging the ribbon cable. If you are a novice with a soldering iron I would not recommend attempting this.
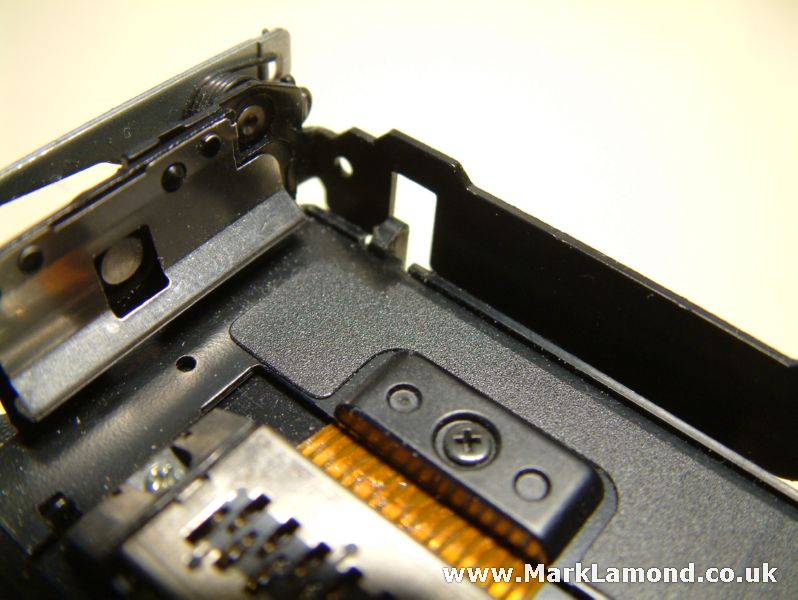 |
1. Release the latch at the bottom of the front panel to allow you to rotate it. |
 |
2. Remove the two small screws on the front panel connector. |
 |
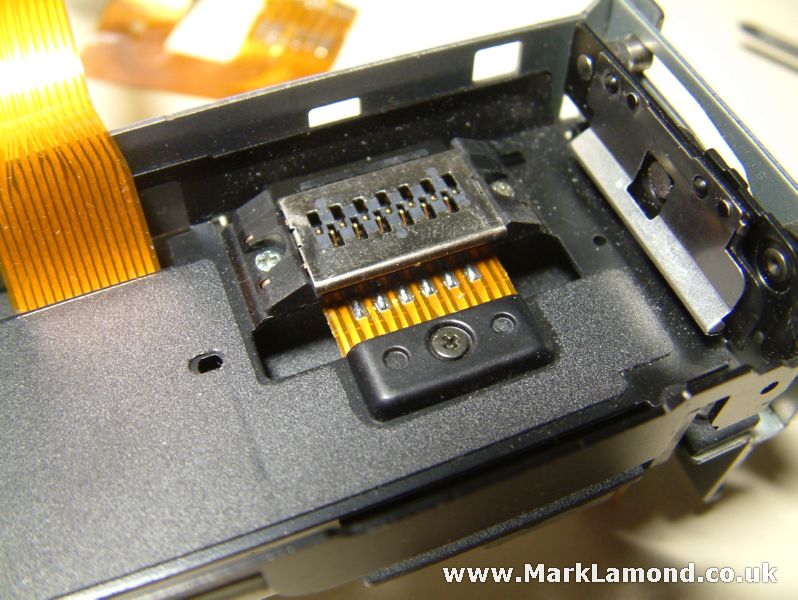
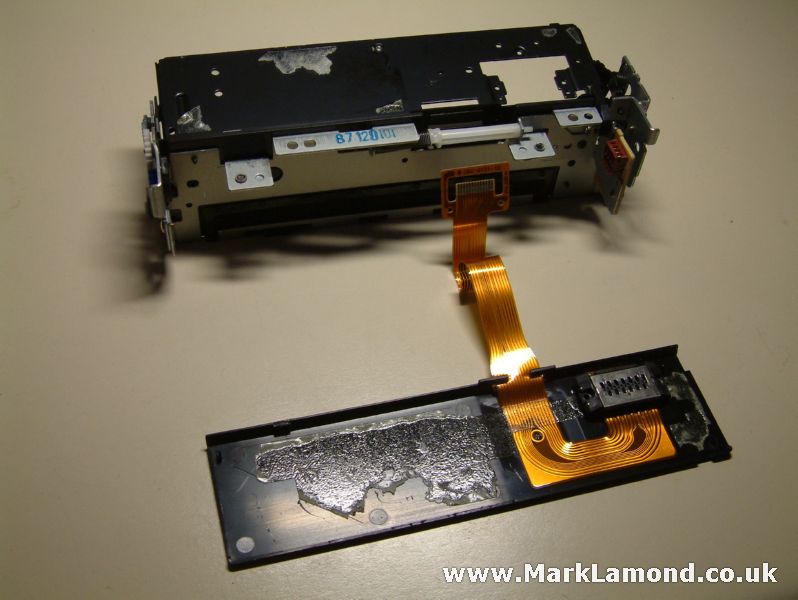
3. You can clearly see the break in the cable. |
 |
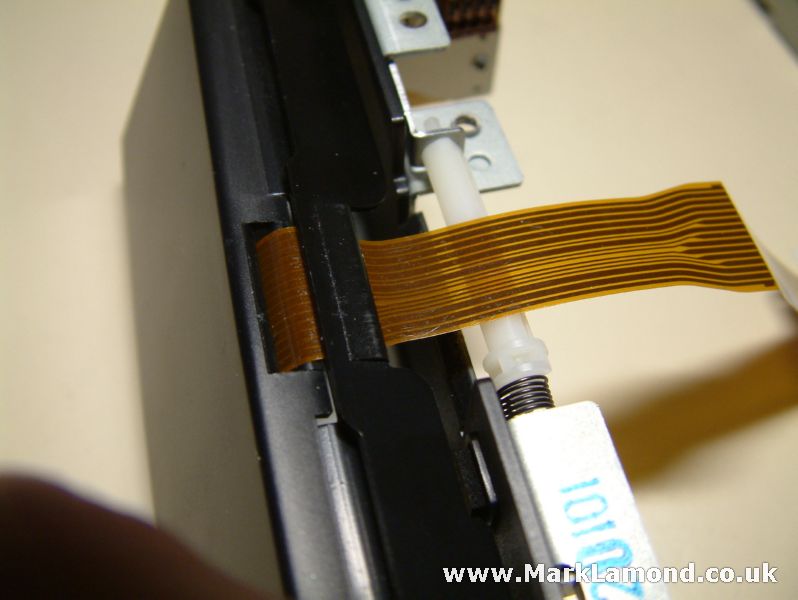
4. Note how the ribbon cable is wrapped around a spring loaded drum, this retracts the cable out of the way as the front panel is rotated. Un-wind the drum and pass the cable through the slot to release it. |
 |
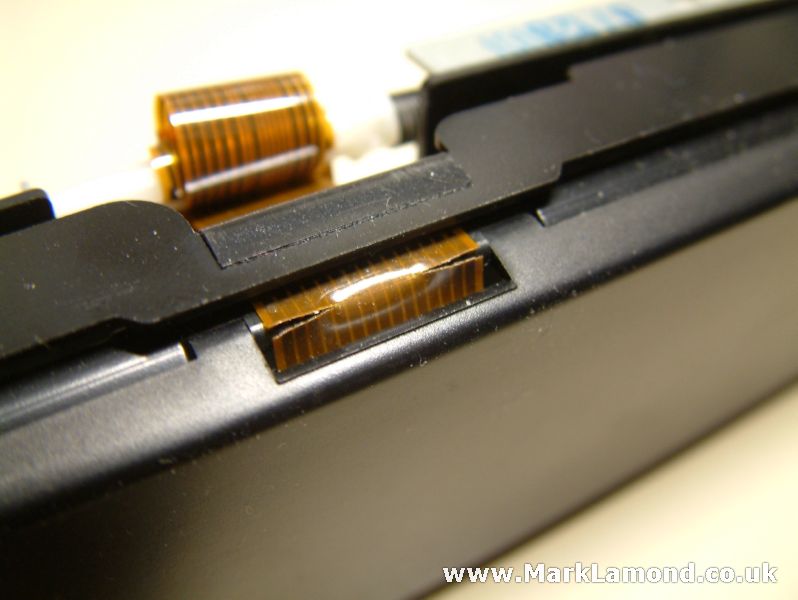
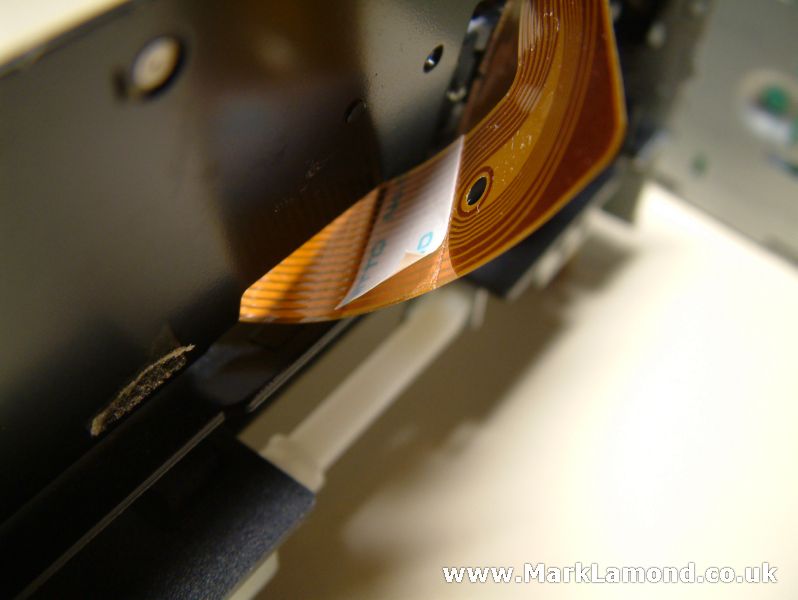
5. Prise the thin plastic cover from the metal frame, the ribbon will probably stick to the front - peel it off. |
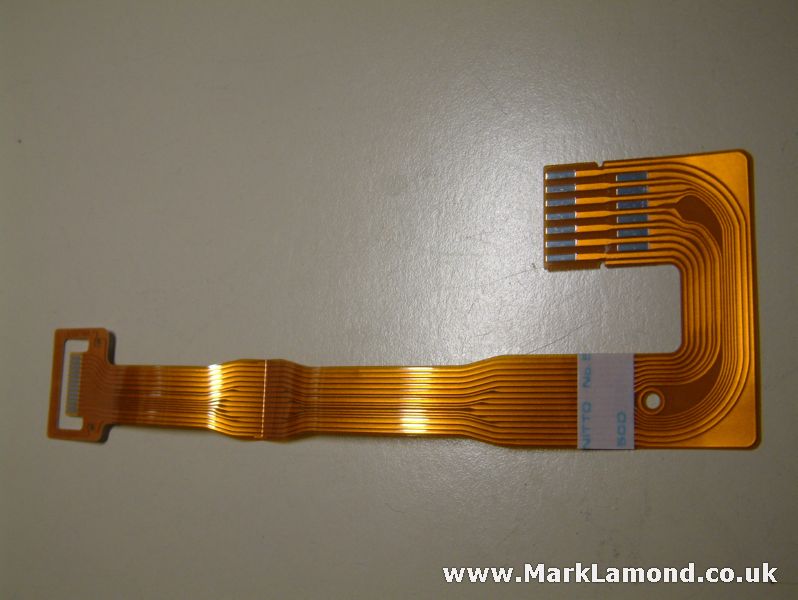 |
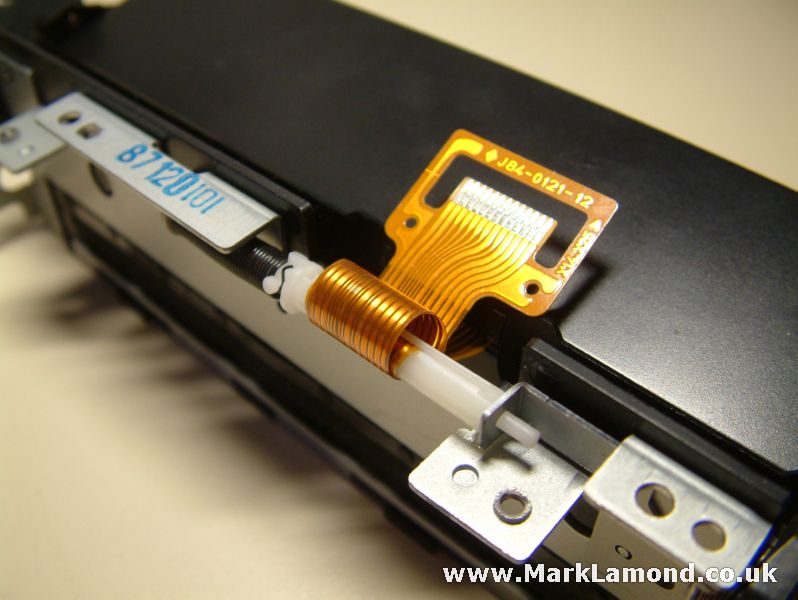
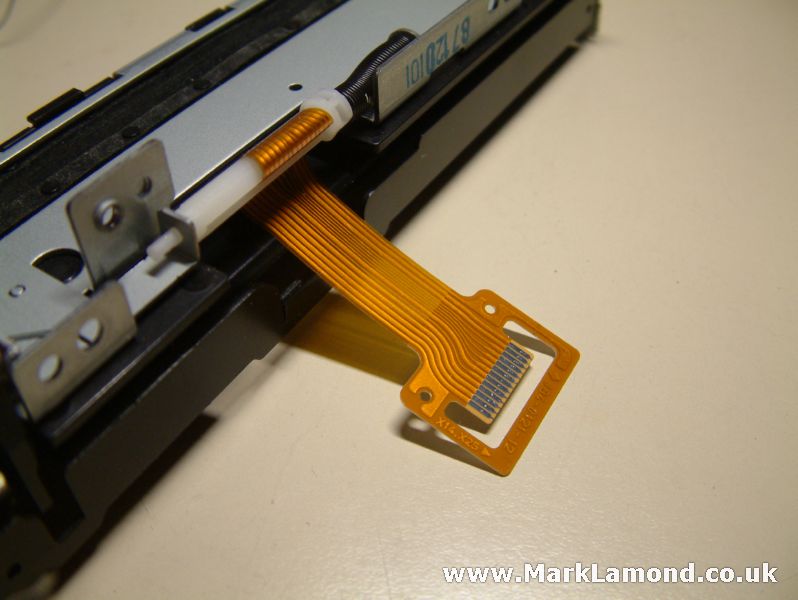
6. The new ribbon cable. |
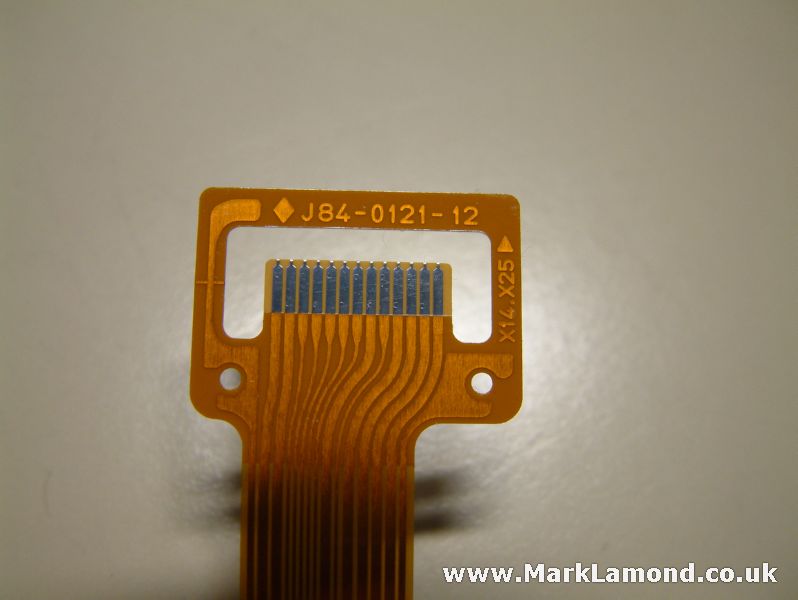 |
7. The part number on the new cable is clearly shown - J84-0121-12 |
 |
8. We now have to transfer the connector across to the new cable. Heat up each pin on the connector and when the solder is molten push the ribbon cable away until all pins are released. Great care must be taken not to damage the thin pins on the connector or apply excessive heat. |
 |
9. Solder on the new connector using as little heat as possible, do not apply excessive amounts of solder to the pins, the amount shown here is optimal. |
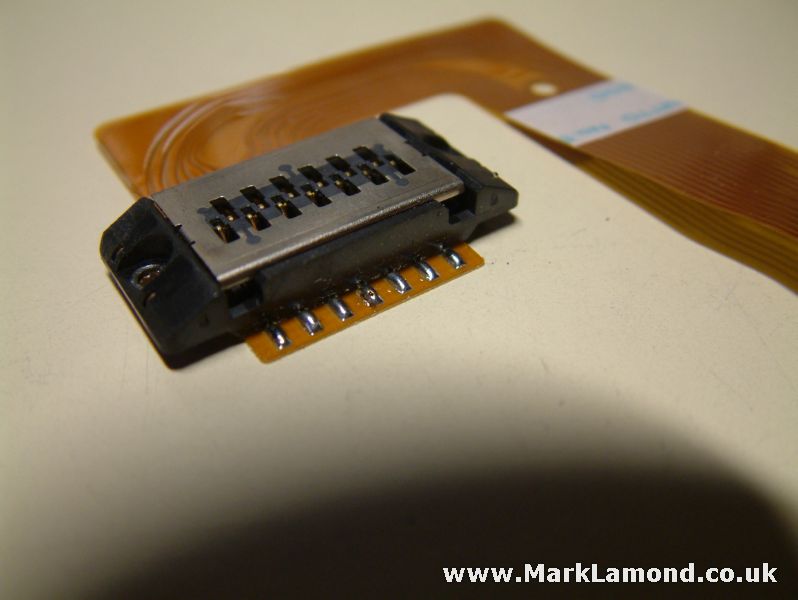 |
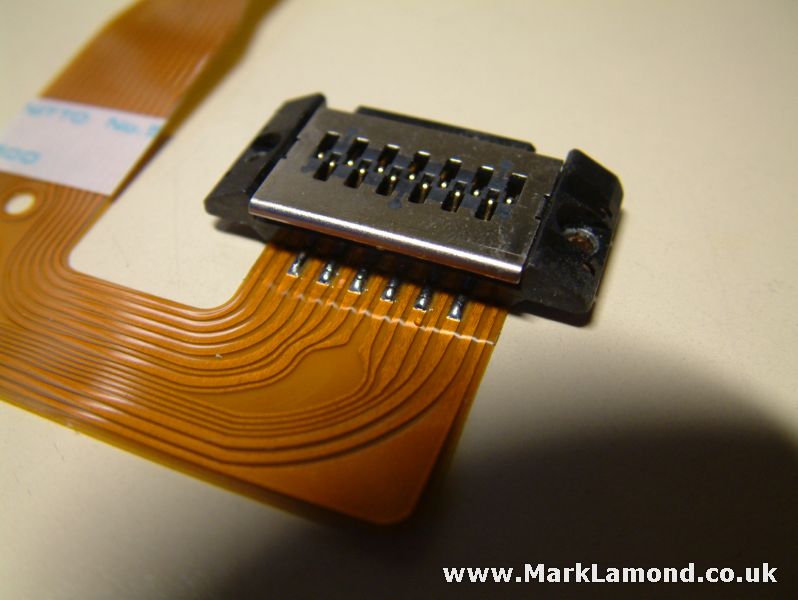
10. A view of the connector from the top. |
|
|
11. Fit the connector back in the frame and replace replace the screws. |
 |
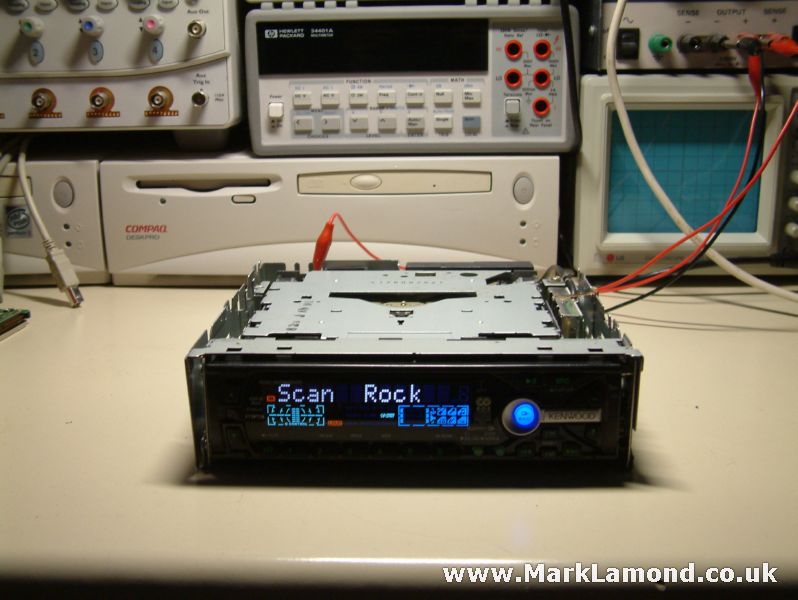
12. Before you re-route the ribbon cable connect it back up and test the unit powers up and operates as normal. |
 |
13. Peel the backing from the sticky pad on the new cable. |
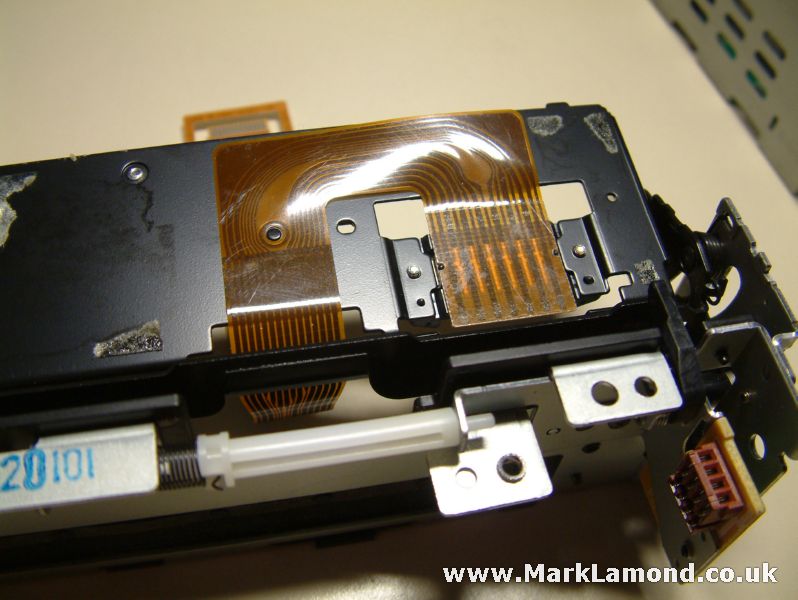 |
14. Carefully align the cable on the metal frame before using firm pressure to stick it to the frame. |
 |
15. Route the cable through the opening in the frame and stick the plastic cover back over the frame. |
 |
16. Wind some tension back on the drum before passing through the cable. Test the action of the front panel to make sure you have enough tension to keep the cable out of the way of the panel as it flips. Too much tension will lower the life of the new cable. |
 |
17. Re-assemble the unit and test before fitting the top cover. |